10 minutes
Configuring Single Sign-on (SSO)
In this article, you will learn how to configure Single Sign-on or SSO with your preferred identity provider. Single sign-on works with popular identity providers such as Azure, ADFS, Okta, OneLogin, Google Workspace, and Office 365 to provide an additional layer of access security for you and your team.
How to enable single sign-on for your organization
To enable SSO, follow the steps below:
Step 1
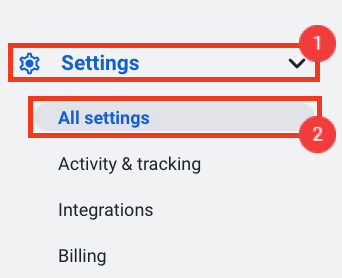
Navigate to Settings > All settings.
Step 2
Click on Security & Login.
Step 3
Click on the Configure SSO button.
Step 4
Copy both the Identifier (Entity ID), and Reply URL (Assertion Consumer Service URL) contents (from the Hubstaff SSO setup page) into the relevant fields in your identity provider’s SAML setup page.
Here is what the setup page looks like in Microsoft Azure:
Step 5
Enter the Issuer ID, SSO URL and Identity Provider Certificate (Base64 certificate required).
In MS Azure, for example, Issuer ID is Microsoft Entra Identifier, SSO URL is the Login URL, and the Certificate certificate to be pasted, or uploaded from Azure.
Below are guides on how to get SAML/XML data per platform:
Step 6
Once configured, you will see the SSO setting enabled. Optional: you can also toggle the Require SSO log in setting to require all users to login using SSO.
Login using SSO
Once single sign-on is enabled in your organization, users will be able to sign in with SSO.
Dashboard
Step 1
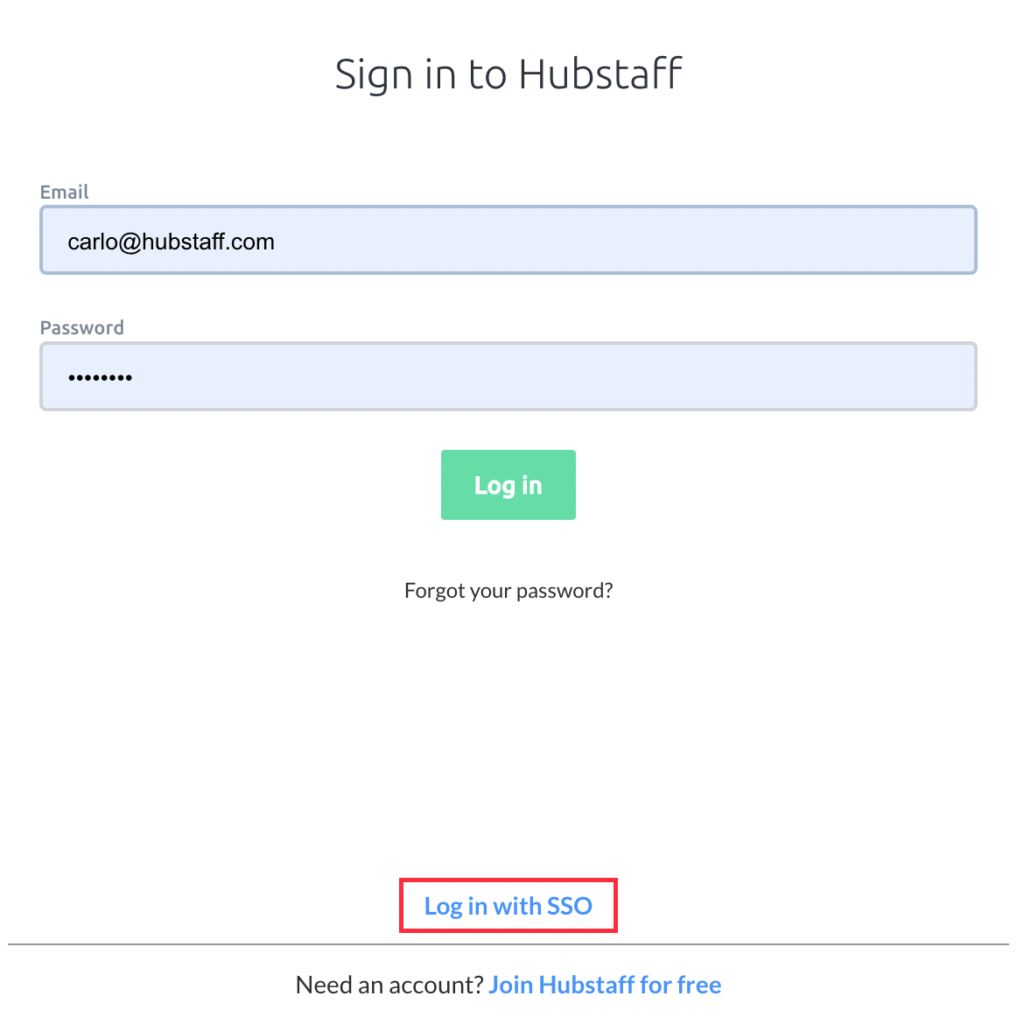
To sign in to your account using SSO, click on Log in with SSO.
Step 2
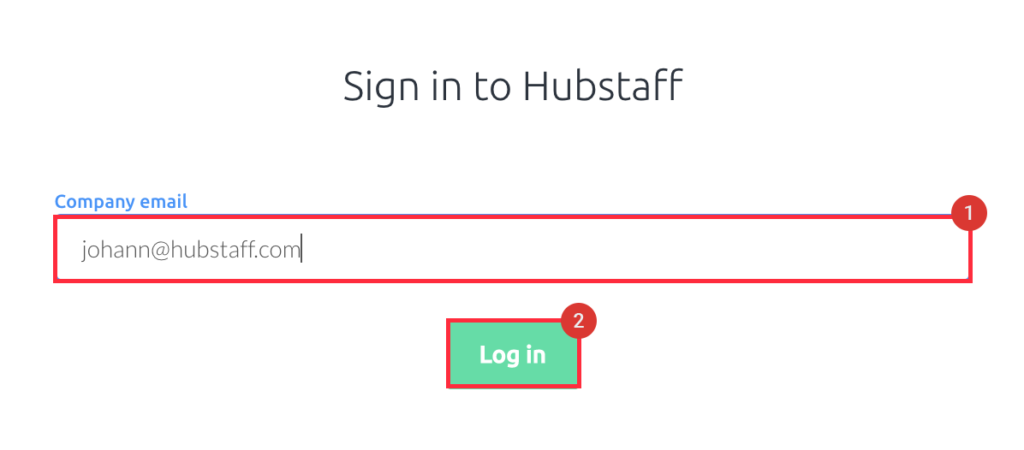
Next, enter your email address, then click Log in.
Applications
Step 1
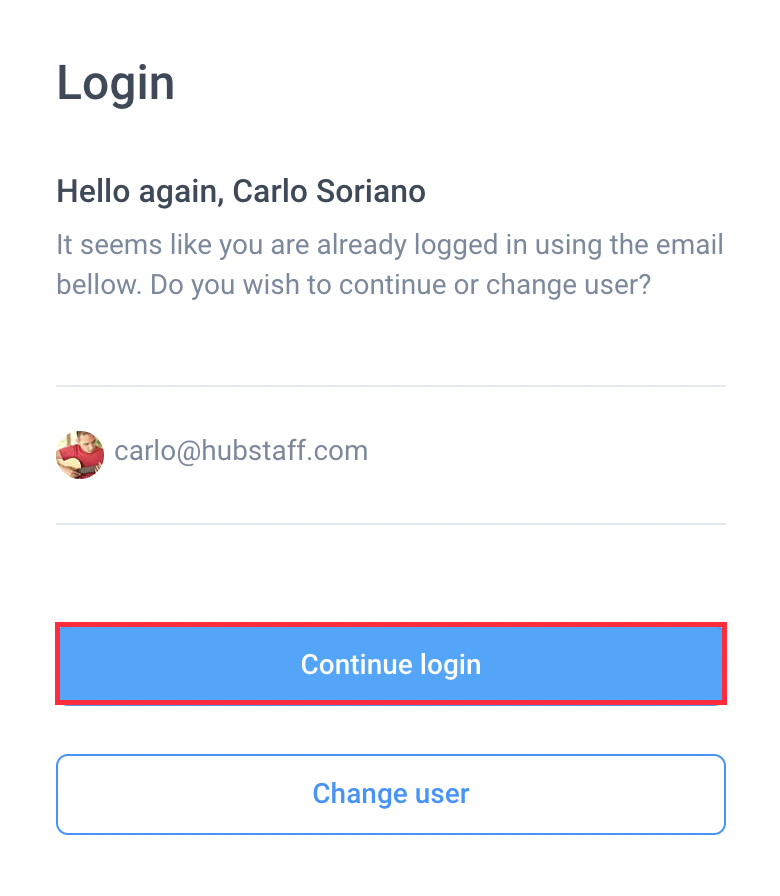
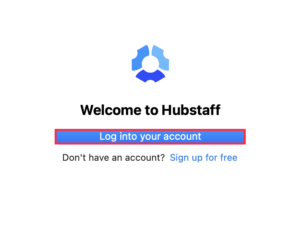
When SSO is enabled, you will be redirected to the web login page upon clicking Log into your account.
Step 2
Next, click Continue login to complete the authentication process.
