8 minutes
How to configure System for Cross-domain Identity Management (SCIM) integration
In this article, you will find instructions on how to configure SCIM, which stands for System Cross-domain Identity Management, which allows our Enterprise customers to automatically provision, update, and de-provision Hubstaff members through their identity provider service.
If you’re looking for how to configure SSO, click here.
In the examples below, we will be using Microsoft Azure, but this should work with any other identify provider that supports SCIM integration such as Okta, Google Workspace, Office 365, ADFS, OneLogin, and many more.
Identity data syncs every 40 minutes, unless the IDP has a feature that circumvents the delay (e.g. Microsoft Azure’s provision on-demand feature.)
Setting up SCIM
Step 1
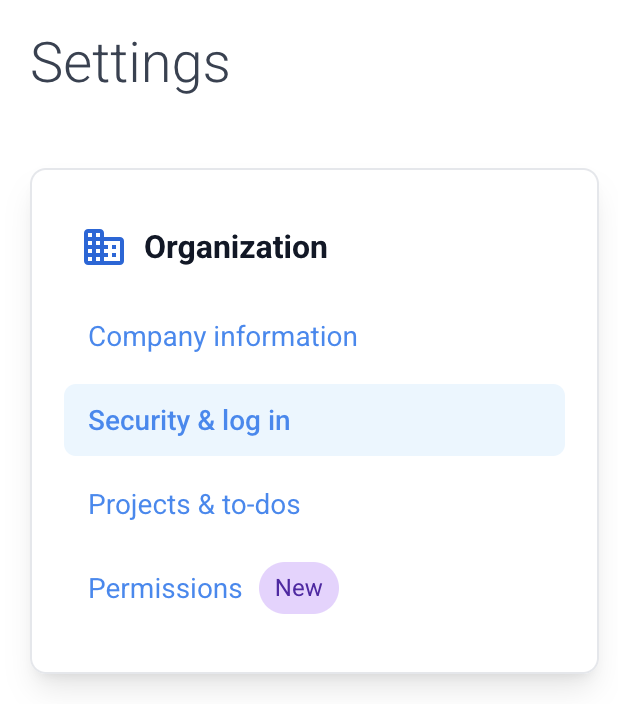
To enable SCIM, navigate to Settings > Organization > Security and Log in.
Step 2
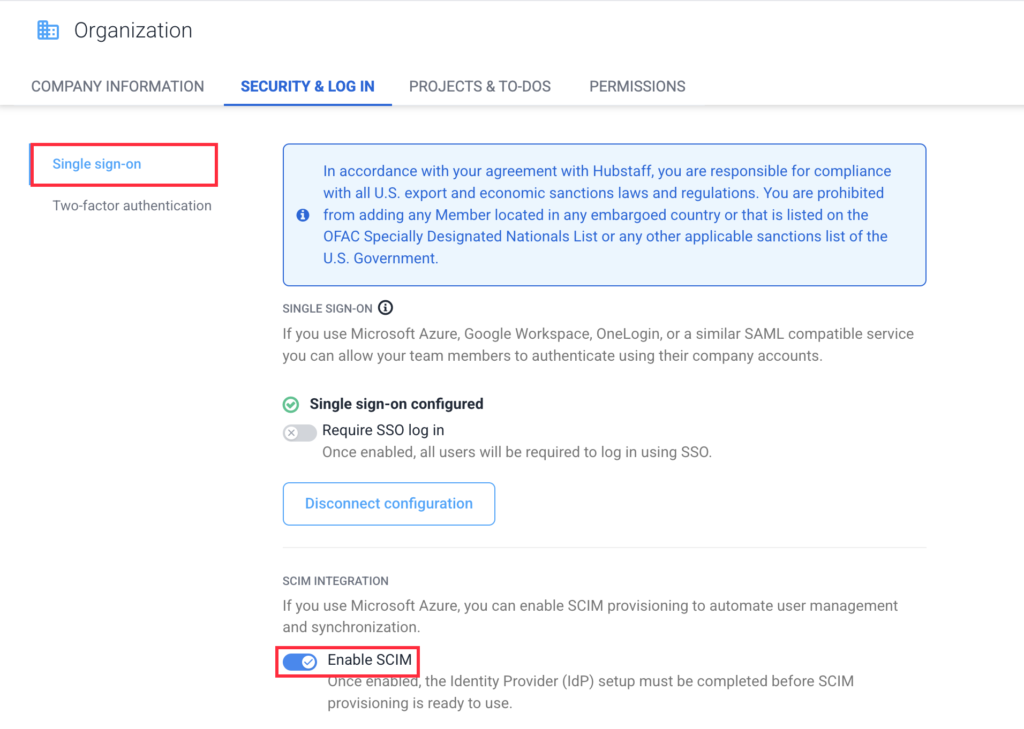
Click the Single Sign-on tab, then toggle the Enable SCIM setting.
Step 3
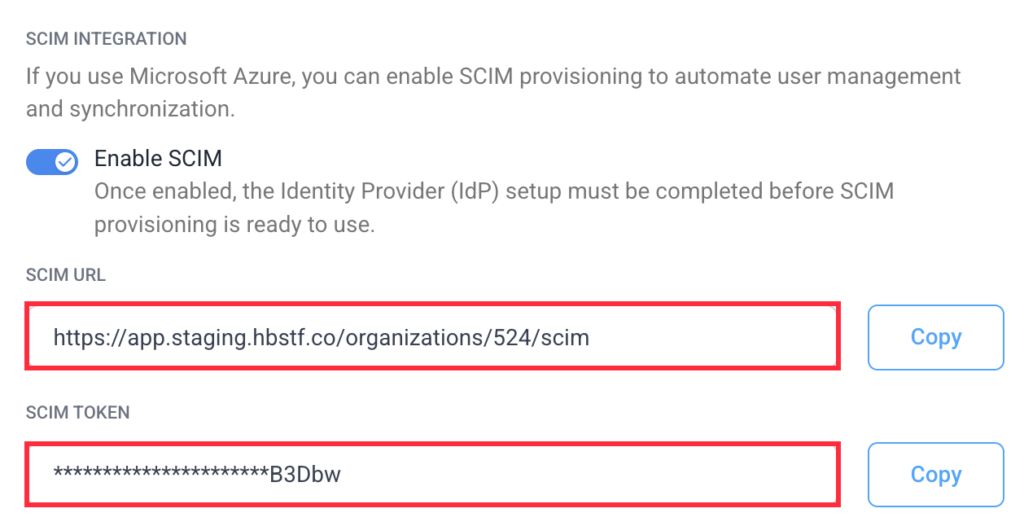
Copy then add the SCIM URL and SCIM token to your identity provider. Once done, you should be able to provision, de-provision and update members within the IDP.
Provisioning users
To provision users, add the users on your IDP application’s user list. IDPs usually have 40 minute intervals before updating records, however, some IDPs like Microsoft Azure allows provisioning on-demand, bypassing the 40 minute requirement.
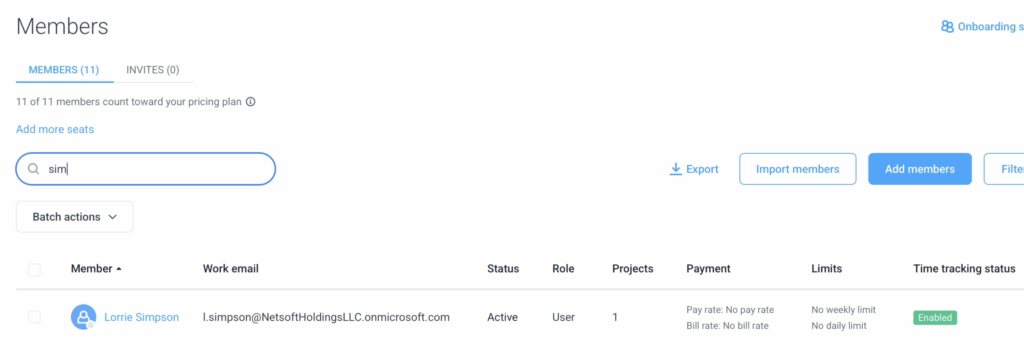
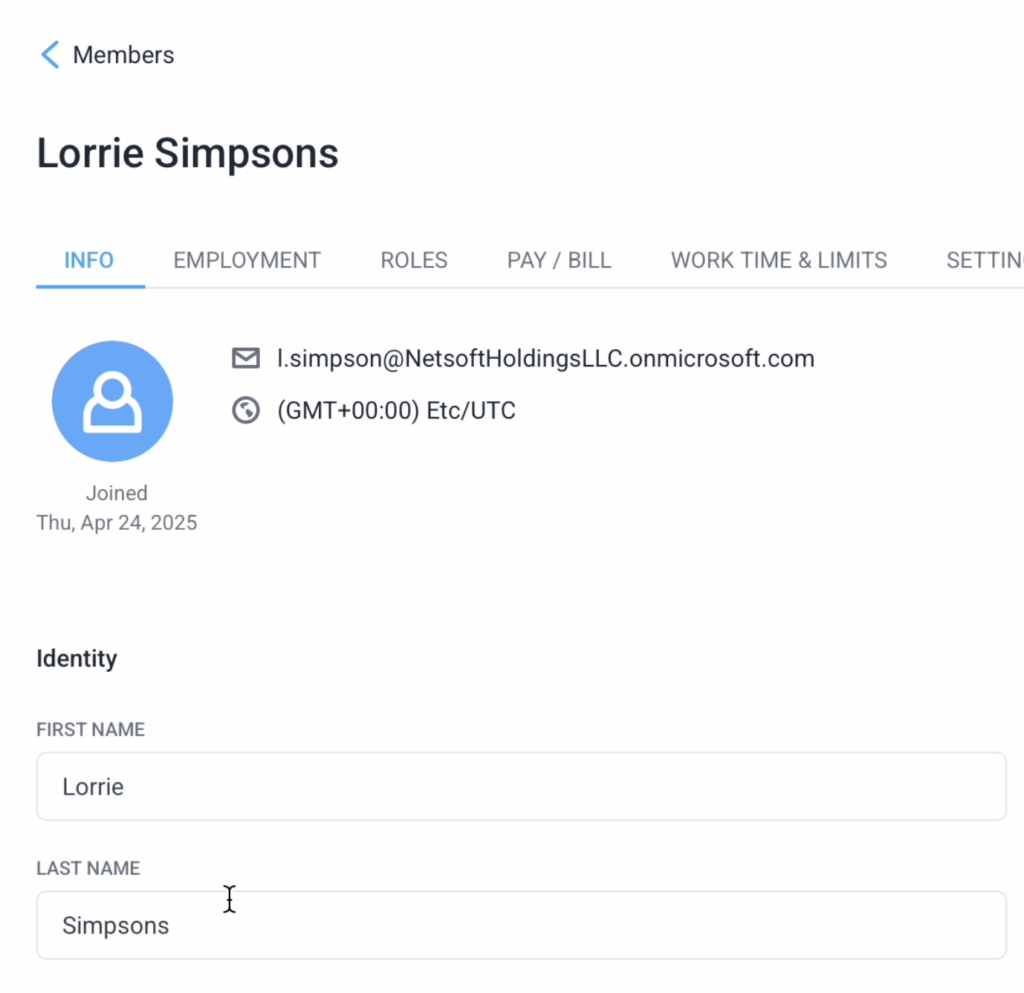
Once added they should appear on the Hubstaff members page.
Updating users
Updating users will occur when member records are changed in the IDP and the changes are synced, which happens in intervals of 40 minutes.
Once synced, the changes should be updated on the Hubstaff side as well.
De-provisioning users
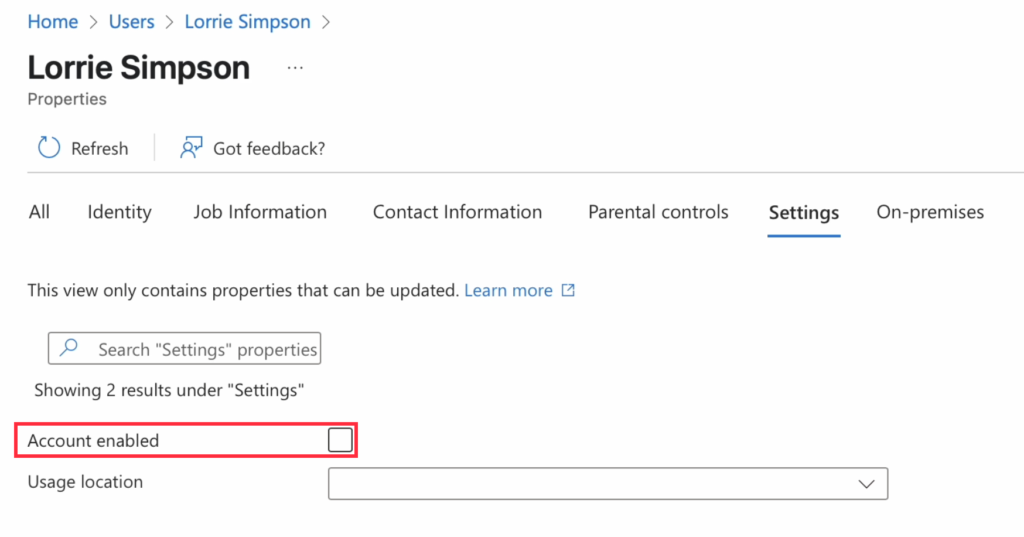
To de-provision a user, simply disable their account on the IDP side to remove them from Hubstaff.
Custom mapping
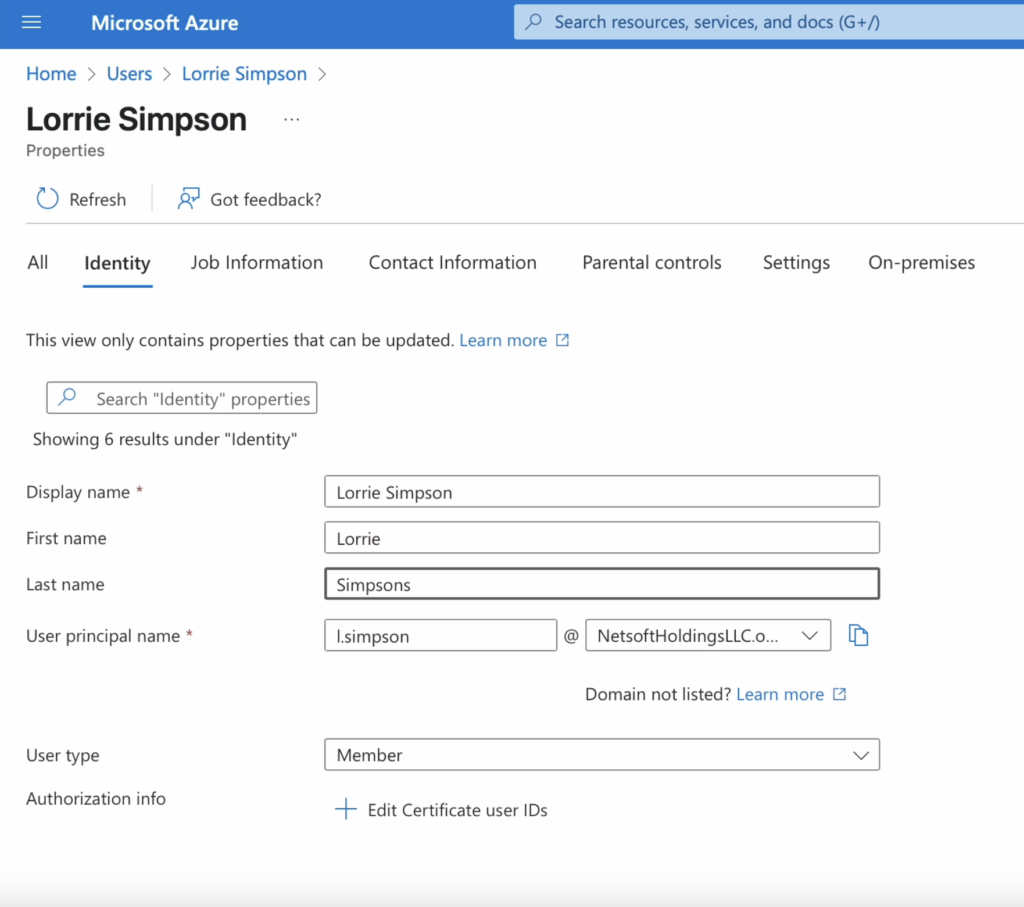
In this integration, the following fields are supported:
- Display name
- First name
- Last name
- Email address (Uses principal name)
- Job title
- Department
- OS username (requires custom mapping)
Azure AD does not include a native OS username field, however, you can configure a custom mapping using an existing attribute—such as Employee ID (or another attribute) — to populate the OS username in Hubstaff.
To configure this:
- In your IDP, create a custom attribute with the key: urn:ietf:params:scim:schemas:extension:hubstaff:2.0:User:osUsername
- Map this key to your preferred attribute (e.g., Employee ID or another appropriate attribute).
- Once configured, this value will sync to both the Employee ID and OS Username fields in Hubstaff.
If the OS Username is not syncing as expected, please verify that the custom mapping has been set up correctly on the IDP side.
In some directories (like Azure AD), email address and UserPrincipalName may differ. To ensure consistent behavior in Hubstaff, we recommend mapping the email address field rather than relying on UserPrincipalName.
We’ve implemented via a custom mapping, organizations will have to set it up to acquire OS usernames synced, expected key name = urn:ietf:params:scim:schemas:extension:hubstaff:2.0:User:osUsername
