5 minutes
Installing the macOS timer application
Here are instructions on how to install and then sign in to the macOS desktop timer application.
Download Hubstaff for Mac Here
Step 1
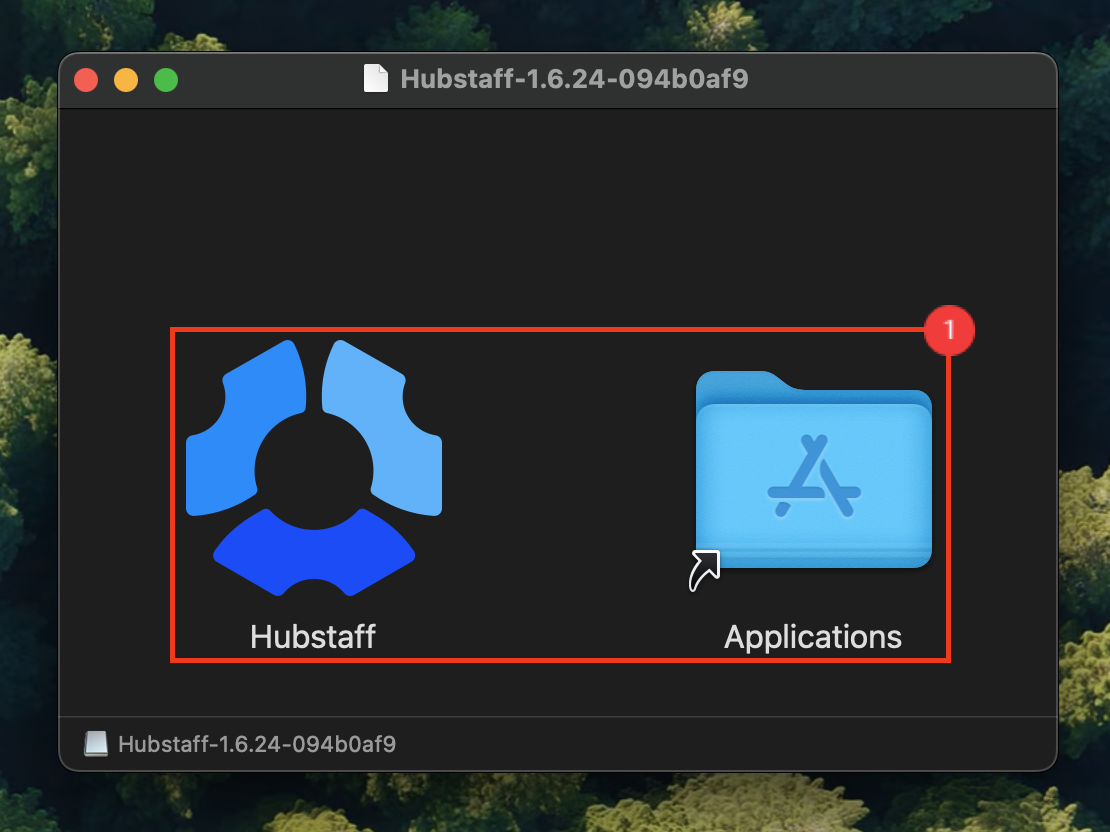
Once you have downloaded the Mac desktop timer, you will need to install it by dragging the app into the Applications folder.
Step 2
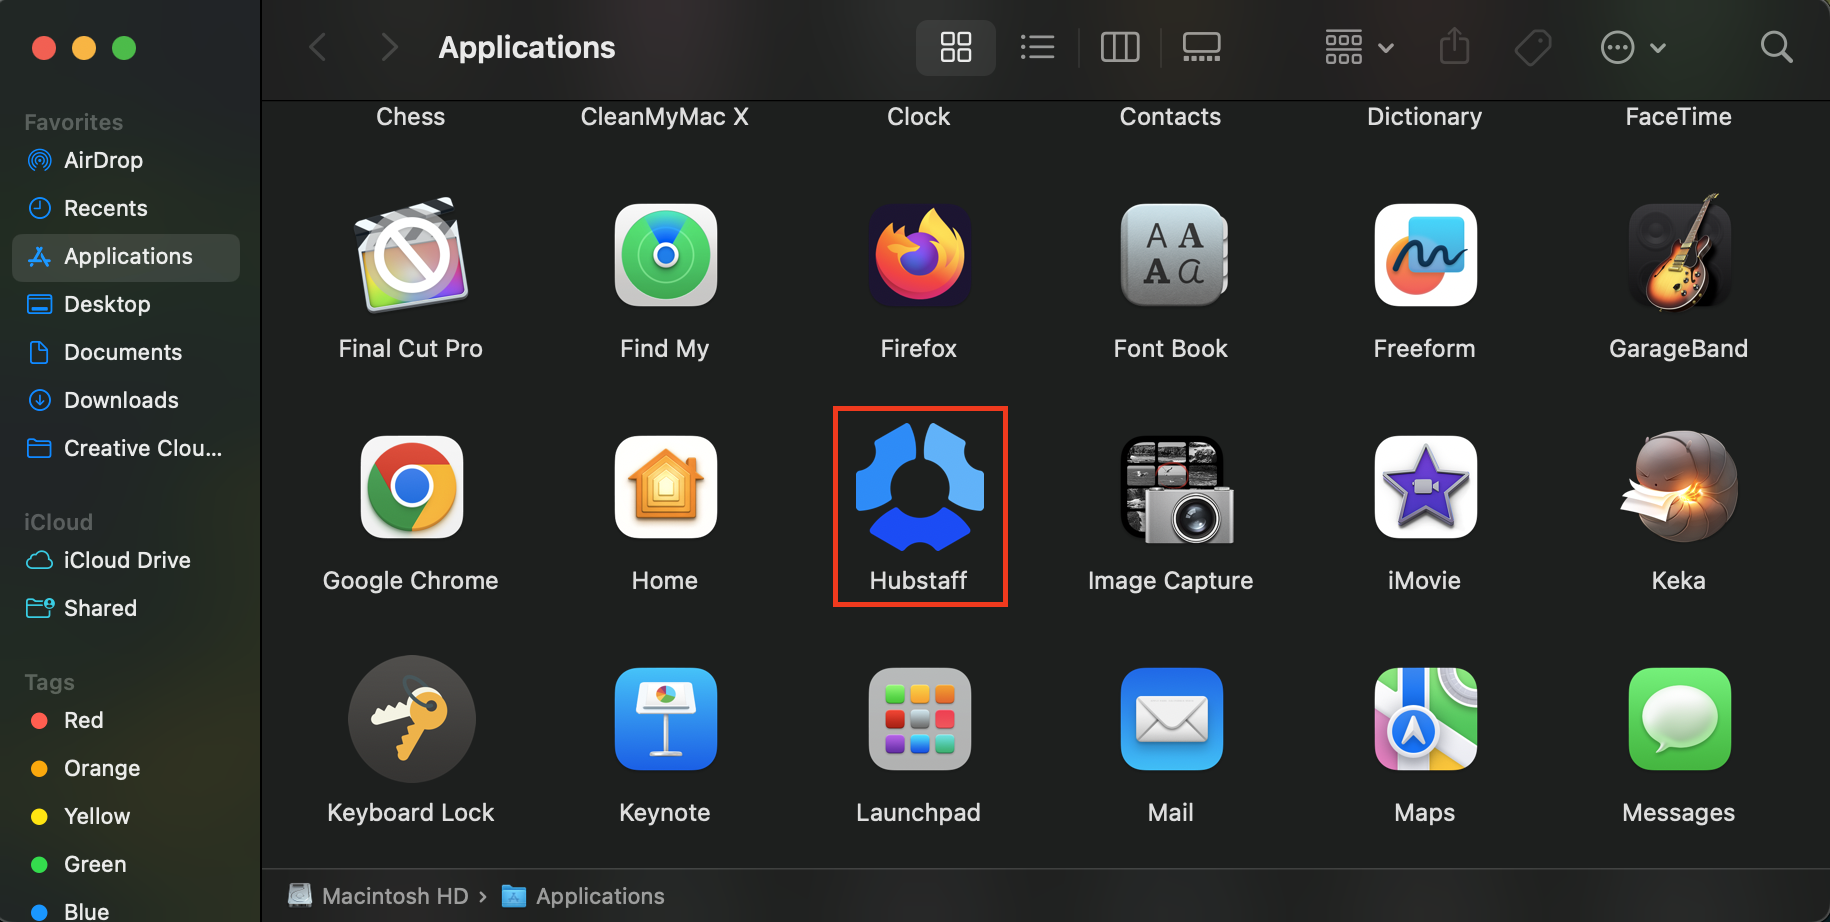
Go into the Applications folder and double-click on the Hubstaff app.
Step 3
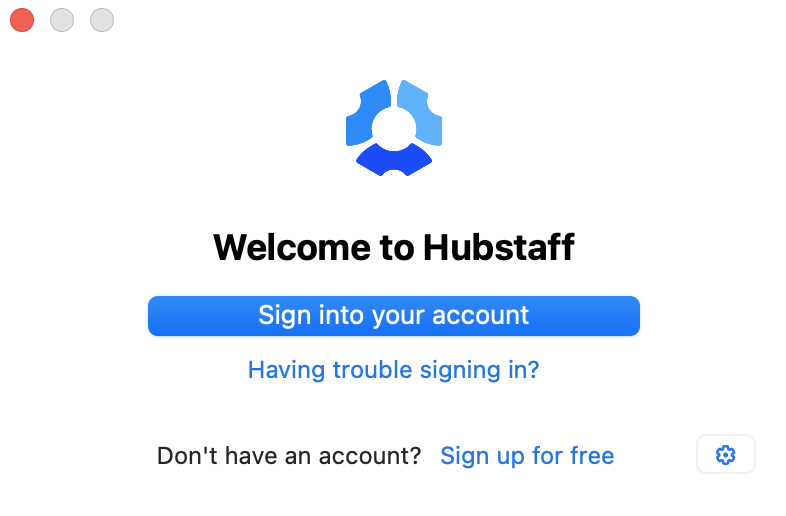
Enter your email and password once prompted, and a Hubstaff icon will appear at the top menu bar.
Step 4
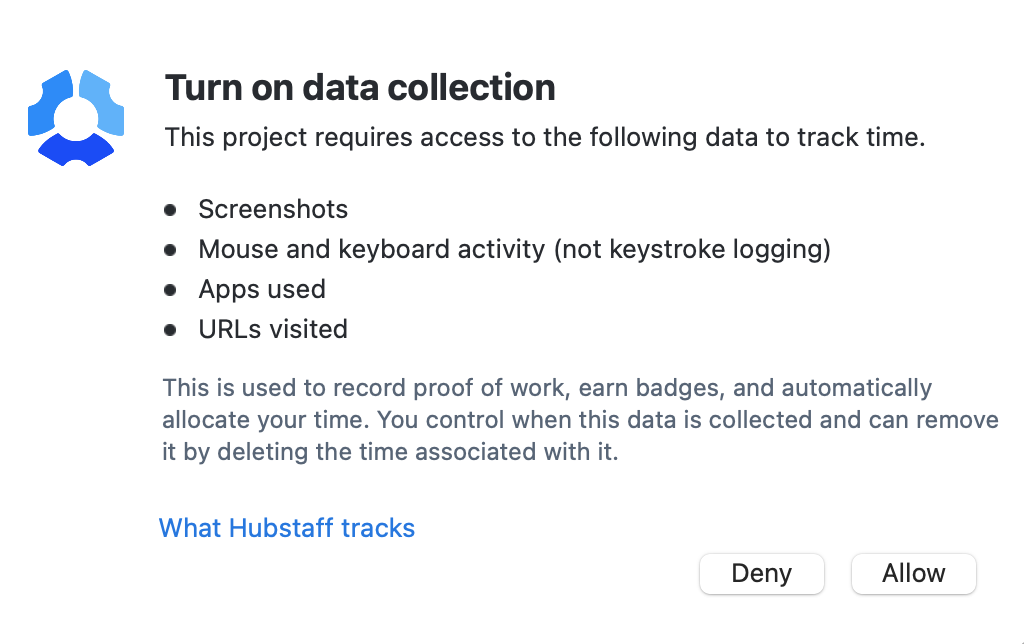
Click Allow on the data consent pop-up.
Step 5
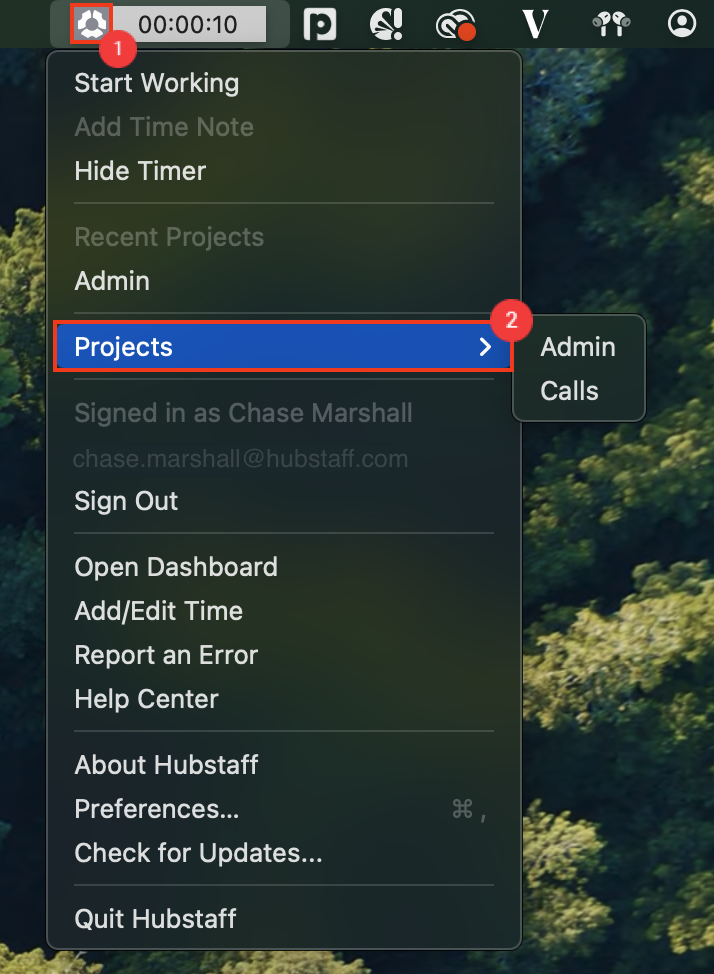
Click on the icon and select a project from the dropdown menu. After you have selected a project, then the Hubstaff icon will turn green which signifies that time is actively tracking.
Your manager has set up projects in Hubstaff and given you access to a certain number (or all) of those projects. When you start the timer and log in, you’ll be presented with any number of projects to select. You should always select the project that you are currently working on, as these projects will be reflected in your reports in the Hubstaff web interface.
At this point, you should be able to track time for any project that you are authorized to work on by your manager. It may be a good idea to inform your manager that you have successfully installed and activated your Hubstaff timer so they can confirm that everything is working correctly.
